


How to access cPanel with an unmanaged VPS
If you have an unmanaged VPS plan and chose the cPanel Control Panel option when you ordered your package, you will have access to both WHM and cPanel. This article shows you how to access your cPanel homepage via WHM with your unmanaged VPS package. Please note that the Unmanaged VPS plans do not include cPanel by default. This article will only apply if you selected the cPanel addon and license during the checkout process. If you'd like to add that to your existing Unmanaged VPS product, please contact our support team for further assistance.
- Log in to the Customer Portal.If you do not know how to log in to the Customer Portal, please see this article.
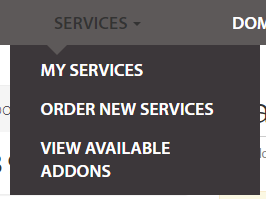
- Select Services in the top menu bar, and then select My Services in the drop-down menu.
Locate your unmanaged VPS under My Products & Services. Select Manage on the right-hand side.
Under Server Information, copy the My Products & Services address.Use your web browser to go to https://xxx.xxx.xxx.xxx:2087, where xxx.xxx.xxx.xxx represents the IP address of your server. This will bring you to the WHM prompt window.
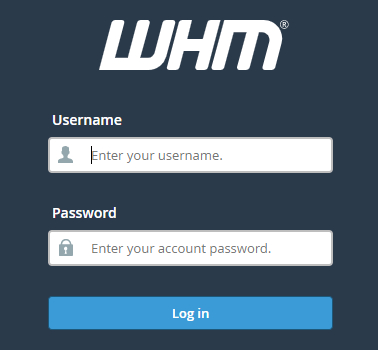
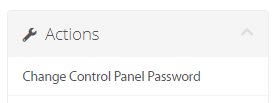
Enter your username and password within the WHM prompt. The username can be found in the email you received after ordering your unmanaged VPS, and the password is the one you provided when ordered your unmanaged VPS.If you have forgotten your control panel password, fear not. You can change your control panel password within A2 Hosting’s Customer Portal. To change your password, simply select Change Control Panel Password under Actions in the Manage page for your product.
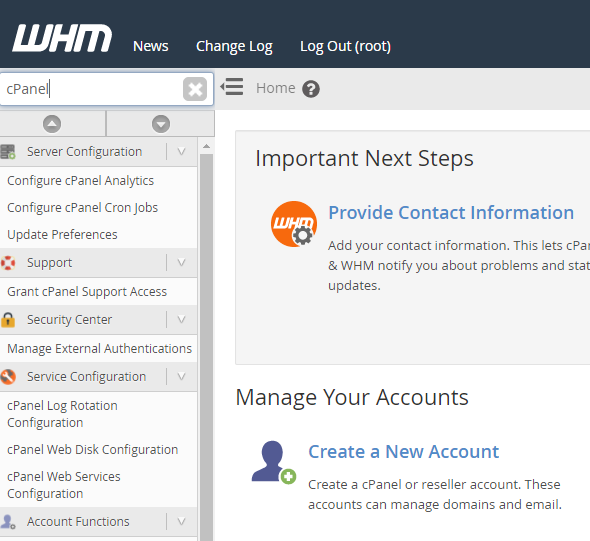
After you have logged into WHM, you will need to create a new WHM account in order to gain access to cPanel. Click Create a New Account on the WHM homepage.
On the Create a New Account page, fill out the relevant info, such as your email address and username.
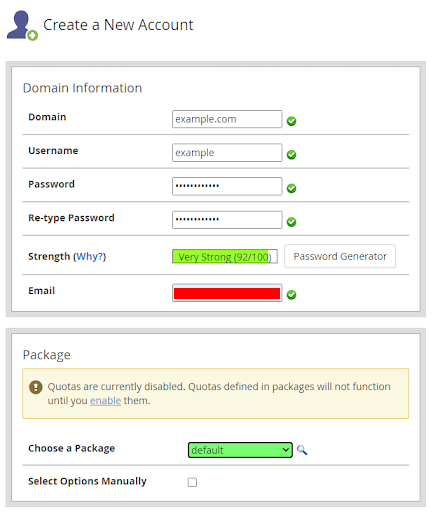
After you have filled out the page, select Create at the bottom of the page. After you have created the account, you will automatically be redirected to the Account Creation Status page. At the very top of the page, click Go to cPanel on the upper right-hand side. This will bring you to the cPanel homepage.

After you have created your account, you can access cPanel from WHM from the List Accounts page as well. To find the List Accounts page, search for “List Accounts” (which is nestled under Account Information in the left-hand toolbar) in the upper left-hand search bar in WHM. After arriving on the List Accounts page, simply click the cPanel icon next to the account:
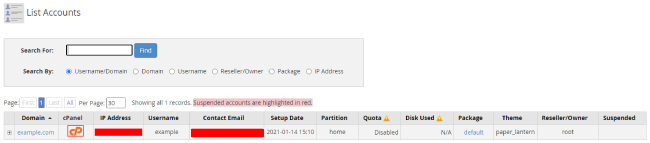
This method will also bring you to the cPanel homepage.
Need help getting off the ground?
Do you have any questions about accessing cPanel with an unmanaged VPS plan? We are here 24/7 to help! We have a support page where you can search the A2 Hosting Knowledgebase, submit a Support ticket, give us a call or chat live with one of our Guru Crew team members. Visit our Support page now if you need assistance:
Article Details
- Operating System: Linux Hosting
- Product: Unmanaged VPS
- Level: Intermediate
Grow Your Web Business
Subscribe to receive weekly cutting edge tips, strategies, and news you need to grow your web business.
No charge. Unsubscribe anytime.
Did you find this article helpful? Then you'll love our support. Experience the A2 Hosting difference today and get a pre-secured, pre-optimized website. Check out our web hosting plans today.